Understanding the Basics of Planter Box Design
Creating your own planter boxes not only adds a personal touch to your garden but also allows you to tailor designs to fit your space perfectly. With a variety of materials and styles to choose from, you can craft planter boxes that are both attractive and functional. In this guide, we'll explore how to build and customize planter boxes that will complement any garden style.
Choosing the Right Materials
The first step in creating a custom planter box is selecting the right materials. Common choices include wood, metal, and composite materials. Each material has its own set of advantages:
- Wood: Offers a classic look and can be easily customized with paint or stain. Cedar and redwood are popular choices for their natural resistance to rot.
- Metal: Provides a modern look and is durable. Metals like aluminum or galvanized steel can withstand outdoor conditions well.
- Composite: A combination of wood fibers and plastic, composite materials are low-maintenance and weather-resistant.
Design Considerations
When designing your planter box, consider the following factors:
- Size: Ensure the box is large enough to accommodate the plants you wish to grow. Take into account root depth and spacing requirements.
- Drainage: Adequate drainage is crucial. Incorporate holes at the bottom of the box or add a layer of gravel to prevent waterlogging.
- Aesthetics: Match the design of your planter box with your garden’s overall theme. This could be rustic, modern, or minimalist.
Step-by-Step Guide to Building a Wooden Planter Box
Let’s walk through the process of building a basic wooden planter box, which can later be customized to suit your style.
Materials Needed
- Pressure-treated lumber (cedar or redwood recommended)
- Galvanized screws
- Wood glue
- Sandpaper
- Wood sealer or outdoor paint/stain
Tools Required
- Saw (hand or power)
- Drill
- Screwdriver
- Measuring tape
- Pencil
Construction Process
- Measure and Cut the Wood: Determine the dimensions of your planter box. For a simple rectangular box, cut four side panels and one bottom panel from your chosen wood.
- Sanding: Use sandpaper to smooth out any rough edges, which will help prevent splinters and provide a cleaner finish.
- Assemble the Box: Align the side panels together and use wood glue along the edges for extra support before securing them with galvanized screws.
- Add the Bottom: Attach the bottom panel using screws. Ensure there are drainage holes if not already included in your design.
- Finish: Apply wood sealer or outdoor paint/stain for added protection against weather elements. Allow adequate time for drying before planting.
Customization Ideas for Planter Boxes
Once your planter box is constructed, you can begin personalizing it to fit your garden's aesthetics. Here are some creative customization ideas:
Add Color with Paint
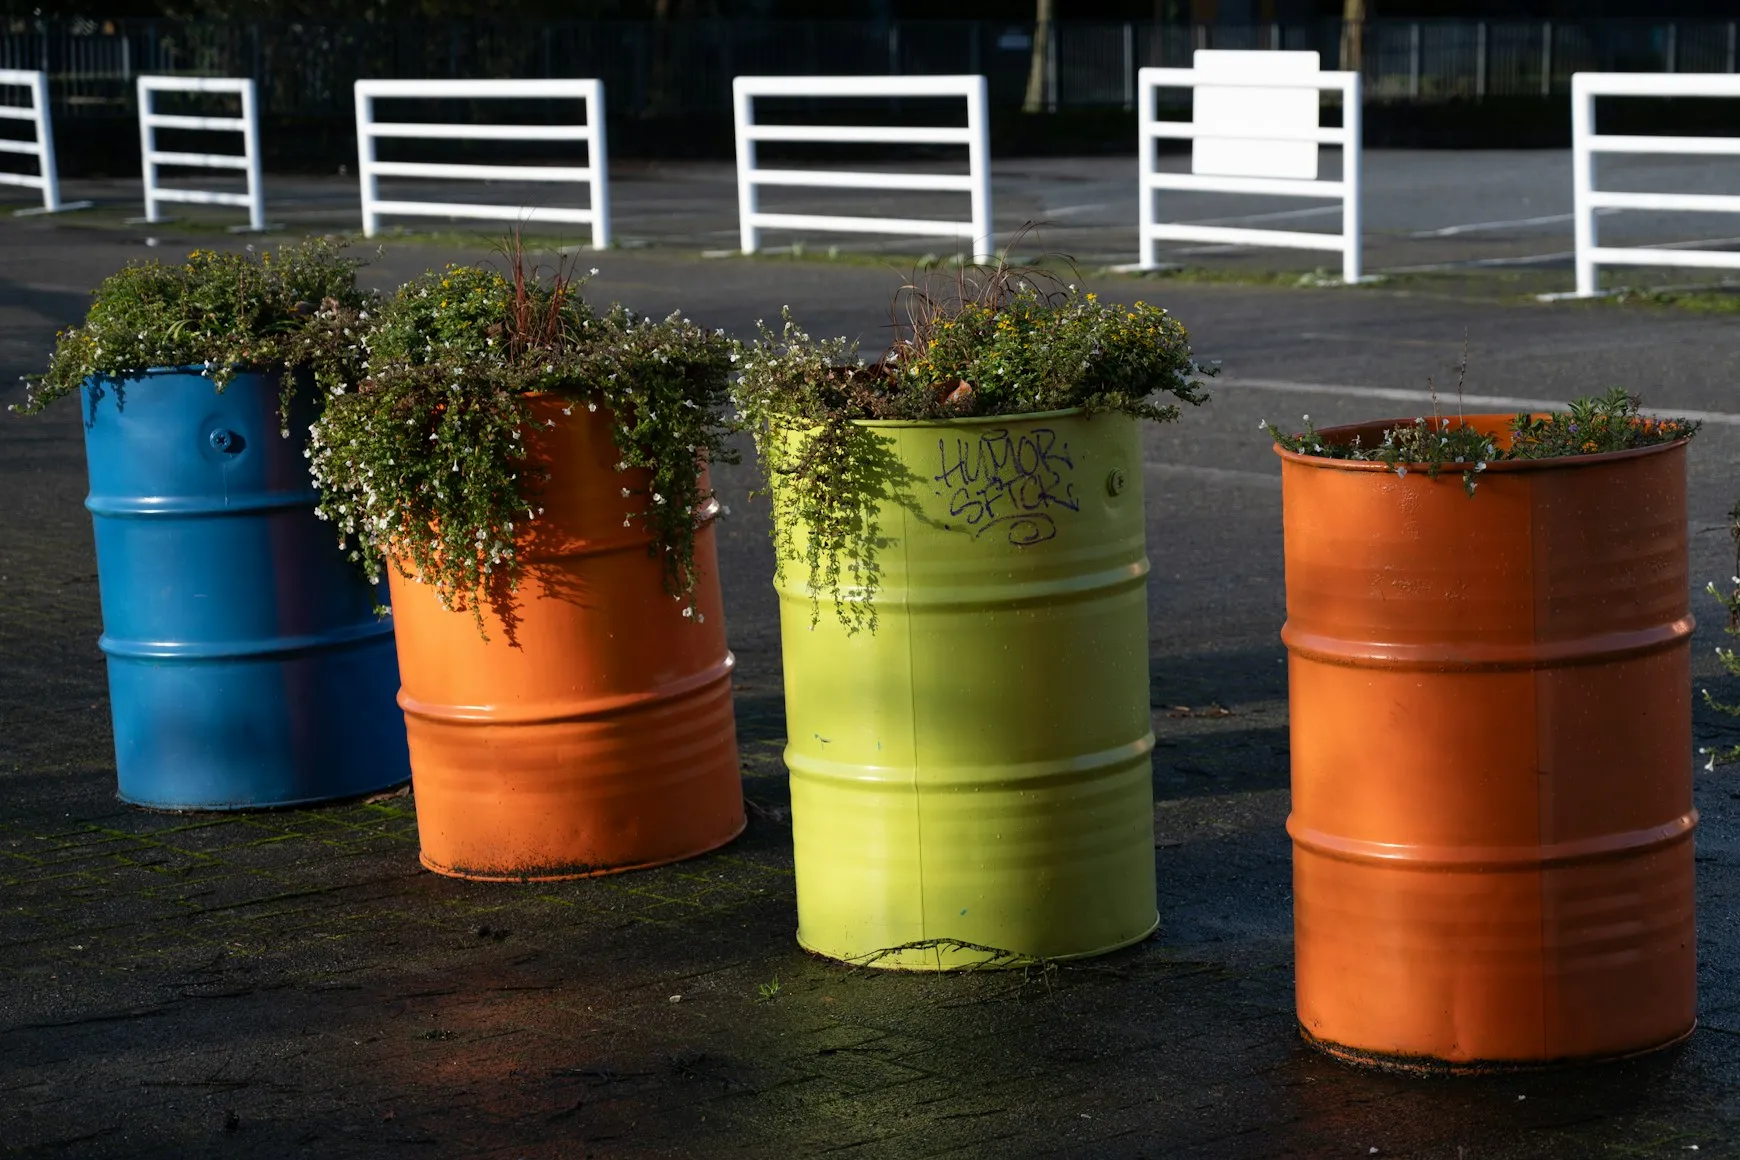
A simple way to customize your planter box is by adding color. Choose paints designed for outdoor use to ensure durability. You might opt for vibrant hues to make your garden pop or select softer tones for a more understated elegance.
Create Patterns or Designs
You can enhance your planter boxes with patterns or designs such as stripes, polka dots, or even stenciled motifs. Consider using masking tape to create clean lines and experiment with different patterns to find what best complements your garden.
Add Decorative Elements
Add decorative hardware such as metal brackets or handles to give your planter boxes an industrial feel. Alternatively, you might want to include decorative trim or molding for an elegant touch.
Incorporate Functional Features
- Add wheels to larger planter boxes for easier mobility, allowing you to adjust plant positions according to sunlight availability.
- Include a built-in trellis for climbing plants, which also doubles as a privacy screen.
A Practical Workflow for Custom Planter Projects
To ensure a smooth construction process, follow this practical workflow checklist:
- Select and acquire materials based on desired aesthetics and functionality.
- Create detailed sketches or plans of your design, including measurements and additional features.
- Gather all necessary tools and ensure they are in good working condition.
- Construct the basic structure of the planter box following safety guidelines.
- Add custom design elements and functional features according to your plan.
- Seal or paint the finished product and allow adequate drying time before planting.
Caring for Your Customized Planter Boxes
Proper maintenance will extend the life of your customized planter boxes. Here are some tips for ongoing care:
- Regularly inspect for signs of wear, such as rotting wood or rust on metal components, and address any issues promptly.
- If painted, consider touching up any areas where the paint has chipped or faded due to exposure to elements.
- Avoid overwatering plants, as excess moisture can deteriorate even well-sealed wood over time.
With these steps and ideas, you can create beautiful, custom planter boxes that not only enhance your garden's appeal but also reflect your personal style. Enjoy the process of creation and watch as your garden transforms with these functional pieces!