Understanding the Basics of Tile Repair
Tile is a popular choice for flooring and walls due to its durability and aesthetic appeal. However, even the strongest tiles can crack or become damaged over time. Fortunately, you don't need to be a professional to fix cracked tiles, nor do you need an extensive collection of tools. This guide will walk you through the process using a simple method involving cleaning, adhesive application, and grout replacement.
Assessing the Damage
Before diving into repairs, it’s crucial to assess the extent of the damage. A small crack might not require complete tile replacement; it could simply be repaired with some adhesive and grout. Here's how to evaluate:
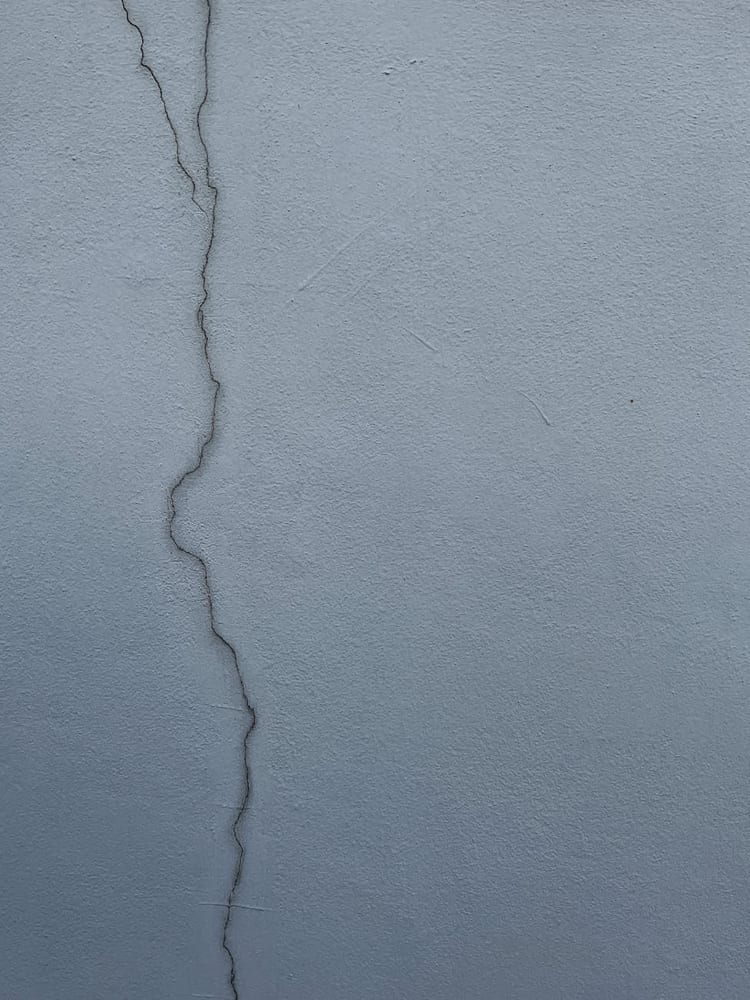
- Visual Inspection: Look for cracks or chips that may have formed on the surface. Determine if they are surface-level or deeper.
- Check Stability: Gently tap the tile with a knuckle or a small tool. If it sounds hollow, it might be loose beneath the surface.
If you find that the tile is severely cracked or loose, consider replacing it. For minor cracks and chips, repair is typically a straightforward process.
Gathering Your Tools and Materials
You don’t need specialized equipment for this task. Here’s what you’ll require:
- Cleaning Supplies: A mild detergent, sponge, and clean cloth.
- Tile Adhesive: Choose an adhesive suitable for ceramic or porcelain tiles, depending on your needs.
- Grout: Use pre-mixed grout for ease of application.
- A Putty Knife or Small Spatula: This will help in applying the adhesive smoothly.
- Grout Sealer: To protect the new grout from moisture and stains.
Ensure you have everything on hand before starting the project to avoid interruptions.
Step-by-Step Tile Repair Process
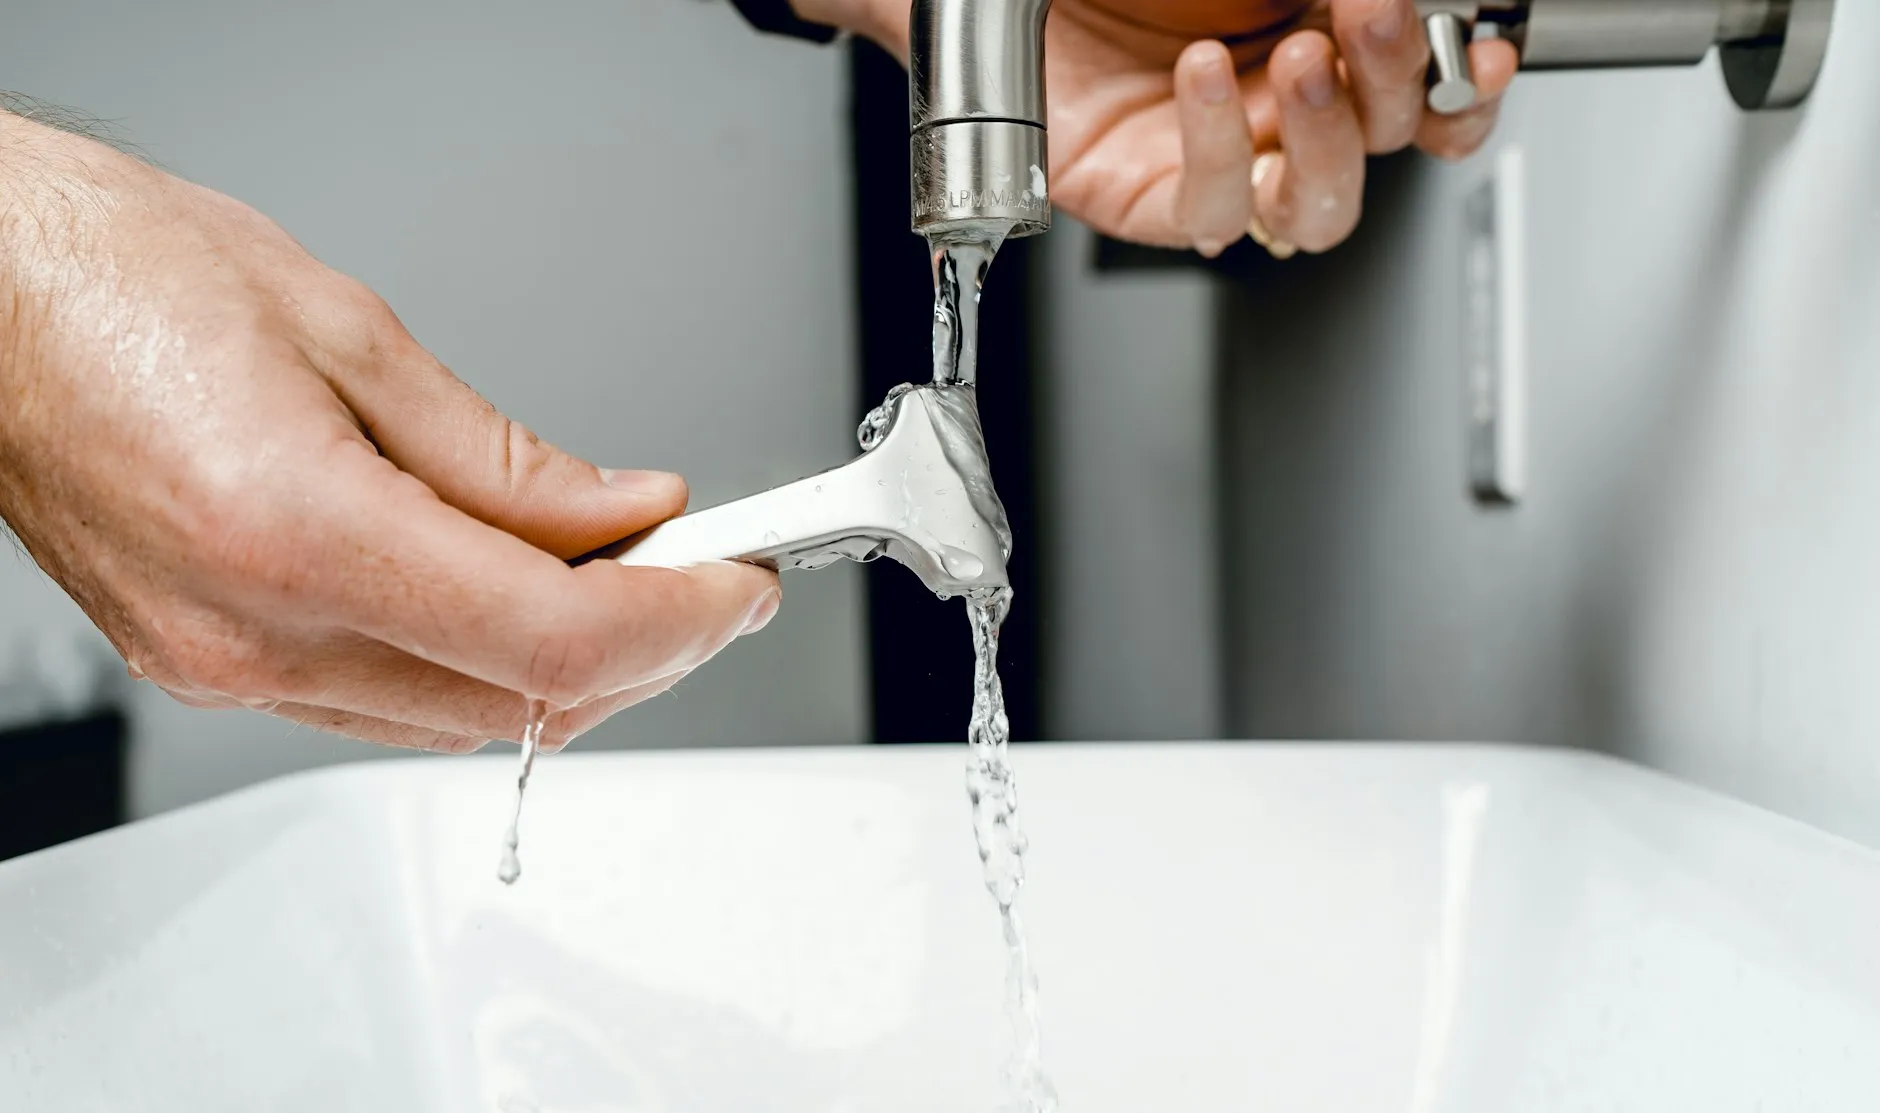
Step 1: Cleaning the Area
Start by cleaning the tile and surrounding area thoroughly. Use a mild detergent and water solution to remove any dirt, grease, or debris. Rinse well and dry the area completely with a clean cloth. A clean surface ensures better adhesion of materials.
Step 2: Applying the Adhesive
Squeeze a small amount of tile adhesive onto the cracked area. Use your putty knife or small spatula to spread the adhesive evenly over the crack. Make sure it fills any voids but is not too thick as to sit above the level of the tile.
Tip: If the crack is very fine, consider using a clear epoxy resin which can provide a more seamless finish.
Step 3: Allowing Adhesive to Set
Give the adhesive sufficient time to set according to the manufacturer’s instructions. Typically, this will range from 24 to 48 hours. Avoid walking over or disturbing the tile during this time.
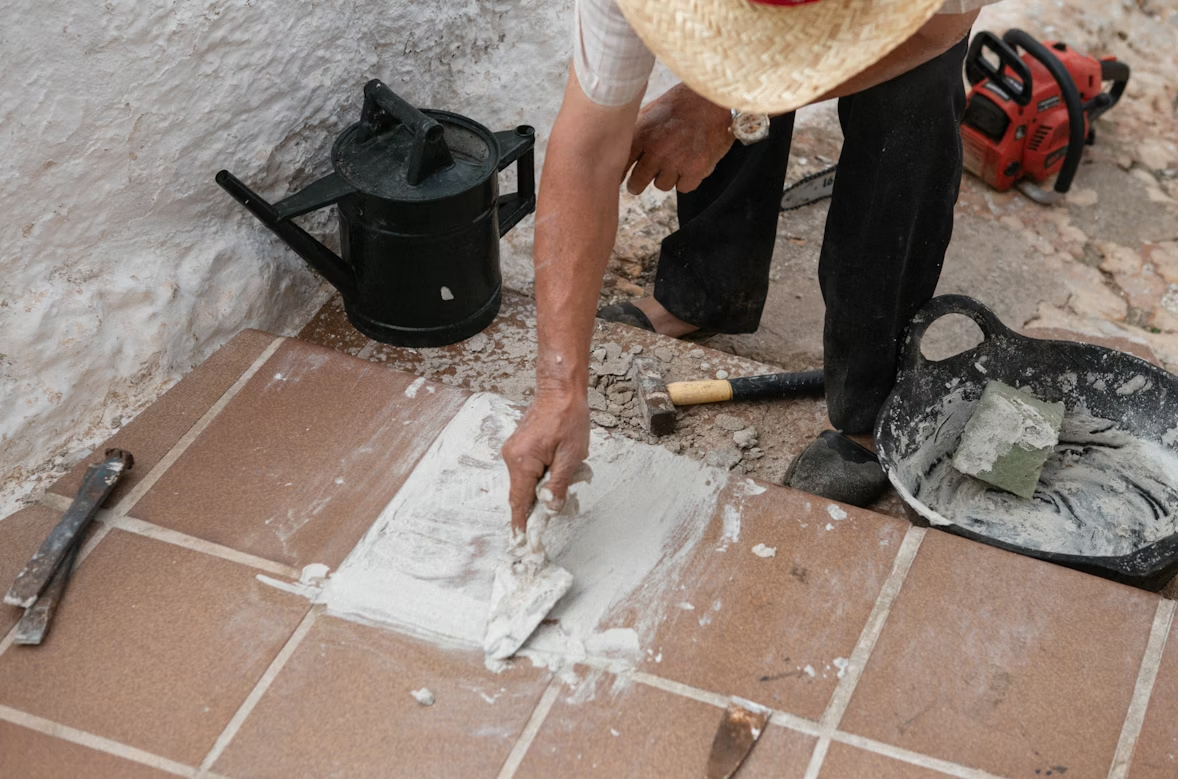
Step 4: Grouting
Once the adhesive is set, it’s time to apply grout. Use your putty knife to apply grout over the repaired area and any existing grout lines that might have been affected. Wipe away excess grout with a damp sponge.
Afterwards, allow the grout to dry as per instructions on your product packaging—usually another 24 hours.
Step 5: Sealing the Grout
Sealing is crucial to protect your repair work from future moisture damage. Apply grout sealer with a small brush or applicator according to the sealer instructions. This step helps in maintaining the longevity of both old and new grout.
Troubleshooting Common Issues
Problem: Adhesive Not Setting Properly
If your adhesive isn’t setting as expected, it might be due to ambient humidity or incorrect mixing (for two-part adhesives). Ensure proper environmental conditions and mix thoroughly if applicable.
Problem: Grout Cracks After Drying
This issue often arises when grout is applied too thickly or not allowed enough drying time. If this occurs, remove the cracked grout and reapply thinner layers, allowing adequate time for each layer to dry completely.
Maintaining Your Tiles Post-Repair
To ensure your tiles remain in top condition after repair, consider these maintenance tips:
- Regularly sweep and mop your tiled areas to prevent dirt buildup.
- Avoid using harsh chemicals that can degrade grout over time.
- Inspect tiles periodically for new cracks and address them promptly before they worsen.
By keeping up with regular maintenance and timely repairs, you can extend the life of your tiles significantly.
A Simple Framework for Future Repairs
Whether you're fixing tiles today or months down the line, having a framework can simplify future tasks:
- Identify: Quickly assess damage upon discovery.
- Clean: Prepare your workspace for effective repairs.
- Repair: Use suitable materials and follow best practices for adhesion and grouting.
- Protect: Seal repaired areas to prevent recurrence of issues.
This framework will keep your home looking pristine without overwhelming effort or cost.