Understanding the Problem: Water Damage in Drywall
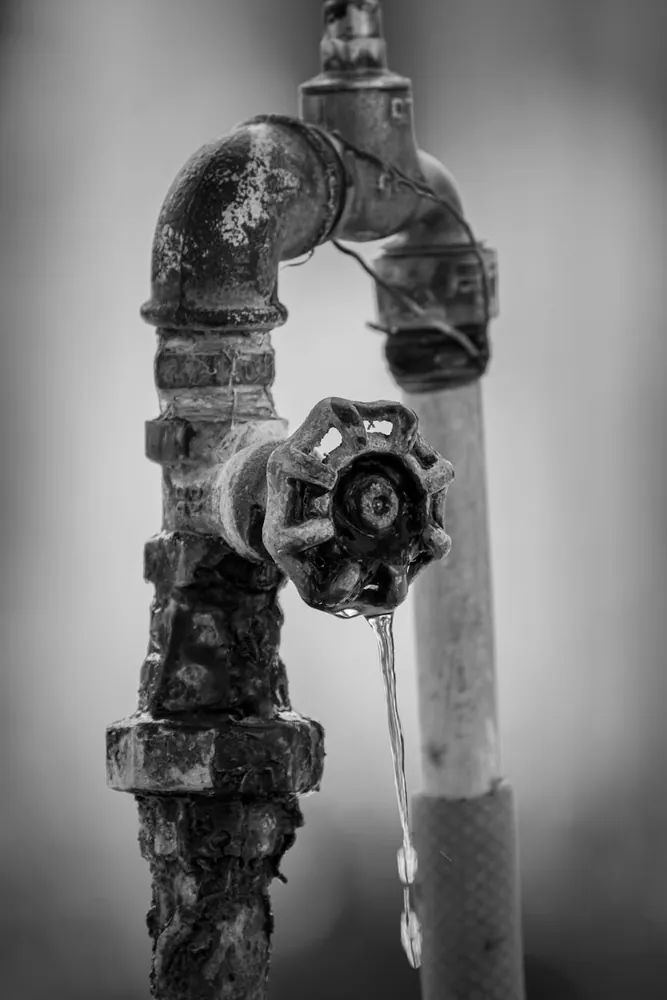
Water damage to drywall can occur due to various reasons, such as plumbing leaks, roof leaks, or flooding. Identifying and repairing water damage promptly is crucial to prevent mold growth and structural issues. In this guide, we will walk through the essential steps and tools needed to repair wet drywall efficiently.
Assessing the Extent of Damage
Before you begin any repair work, it's important to assess the extent of the damage. Here’s how you can do it:
Visible Signs of Water Damage
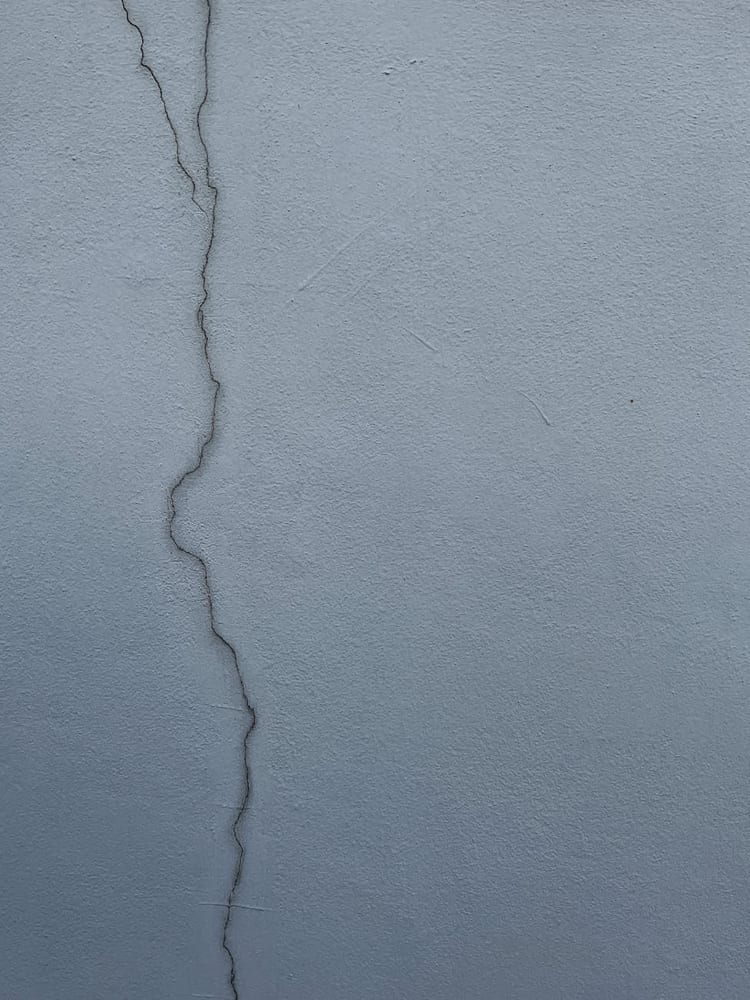
- Discoloration: Look for brownish stains on the drywall surface, indicating water seepage.
- Bubbling or Peeling: Check for bubbling paint or wallpaper and peeling surfaces that suggest underlying moisture.
- Soft Spots: Press gently against the drywall; if it feels soft or spongy, water has compromised its integrity.
Tools for Assessment
You can use a moisture meter to get a more precise reading of the drywall's moisture content. A reading over 1% typically indicates significant water damage requiring repair.
Preparing the Repair Area
Once you’ve determined the extent of the damage, the next step is to prepare the area for repair. Proper preparation is key to a successful repair job.
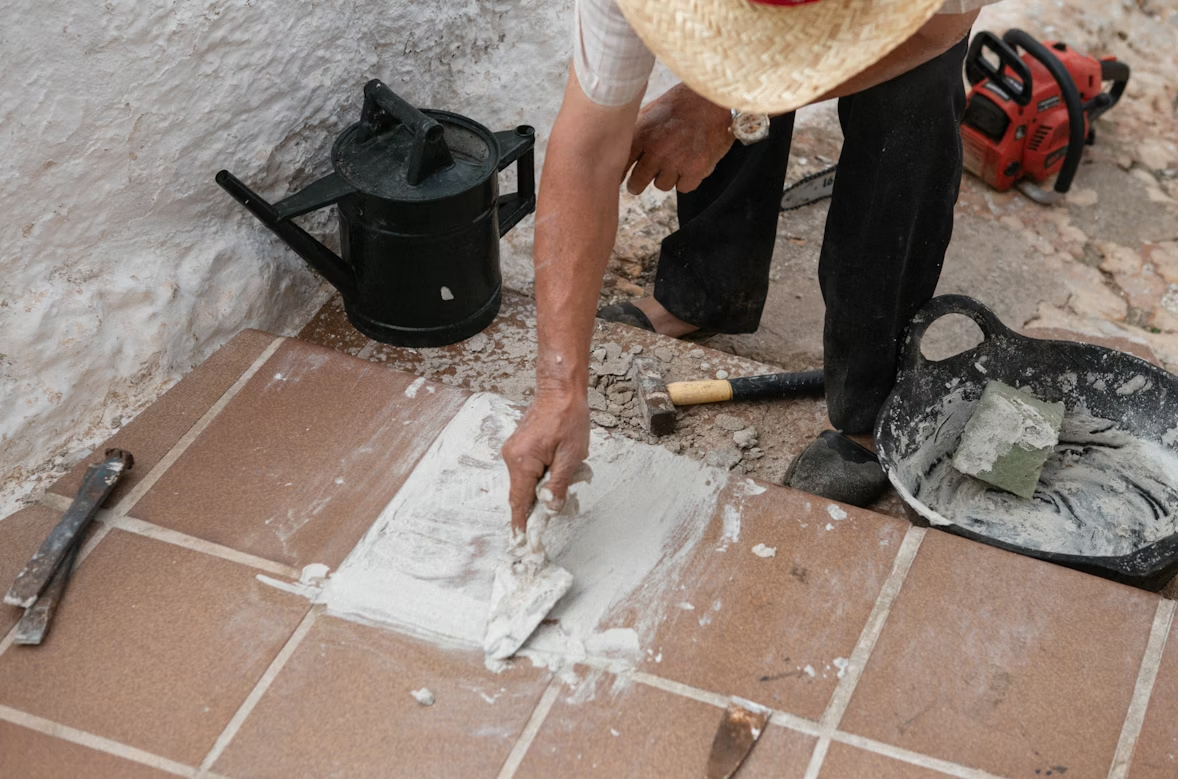
Gathering Necessary Tools and Materials
- Utility Knife: For cutting out damaged drywall sections.
- Tape Measure: To measure the size of the repair patch needed.
- Pencil: For marking cut lines on drywall.
- Drywall Saw: Ideal for cutting through drywall more easily than a knife.
- Putty Knife: To apply joint compound smoothly.
- Sanding Block: For smoothing down joints and patch areas.
- Safety Gear: Use safety goggles and a dust mask when cutting drywall to protect yourself from debris and dust.
Removing Damaged Drywall
- Mark the Area: Use a pencil and tape measure to mark a square or rectangular area around the damaged section. Ensure you cut at least a couple of inches beyond the visibly damaged area to remove all compromised material.
- Cutting Out the Damage: Using a utility knife or drywall saw, cut along your marked lines. Carefully remove the damaged piece without affecting surrounding areas.
Drying Out the Area
It’s vital to let the area dry completely before proceeding. You can use fans or dehumidifiers to speed up the drying process. Make sure there's no moisture left, as this can lead to further damage or mold growth later on.
Applying New Drywall Sections
Now that you have prepared the area, it’s time to apply new drywall sections.
Cutting and Fitting New Drywall
- Measure and Cut: Use your tape measure to cut a new piece of drywall that fits snugly into the hole you’ve created. Precision here ensures less finishing work later.
- Secure the Patch: Attach the new piece using drywall screws and ensure it sits flush with the existing wall surface.
Taping and Finishing Joints
- Apply Joint Tape: Place joint tape over seams between the new patch and existing drywall. This reinforces the joint and prevents cracking.
- Apply Joint Compound: Use a putty knife to spread joint compound over the tape and feather it out to create a smooth transition between old and new drywall.
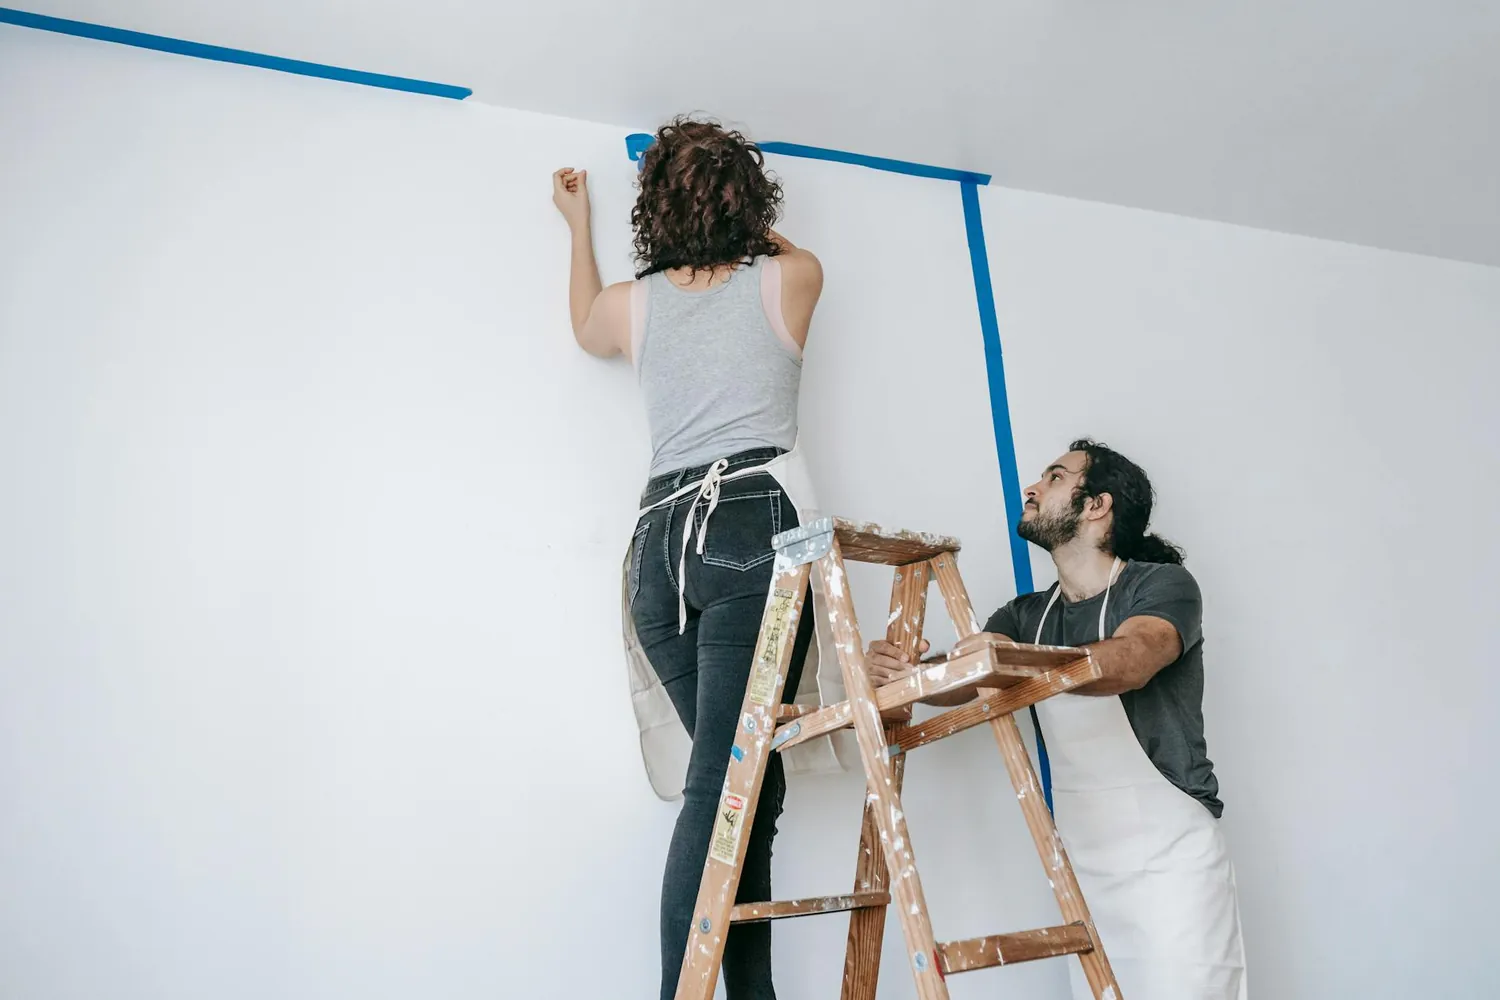
Sanding and Painting
- Sanding: Once the joint compound has dried (24 hours), sand it down until smooth with a sanding block, making sure it blends seamlessly with the surrounding wall.
- Painting: Apply primer first, followed by your choice of paint to match or refresh your wall’s appearance. Multiple coats might be necessary for uniformity.
Troubleshooting Common Issues
If problems arise during your repair process, here are some common issues and their solutions:
- Bumpy Finish: If your patched area is uneven, sand down any high spots and reapply joint compound as needed before repainting.
- Mismatched Paint: If your paint does not match exactly, consider painting an entire wall section or room for uniformity. Take a paint chip to a store for color matching assistance.
Preventing Future Water Damage
The best solution is prevention. Regularly inspect areas prone to leaks, such as under sinks, near appliances, or around windows. Fix small leaks promptly and maintain seals around showers and tubs to prevent water intrusion.
Improving Home Maintenance Habits
- Create a maintenance checklist to regularly inspect potential problem areas.
- Consider installing water leak detectors for early warnings in vulnerable spaces.
Taking these proactive steps will help protect your home from future water damage and reduce repair needs over time.