Understanding the Basics of Faucet Leaks
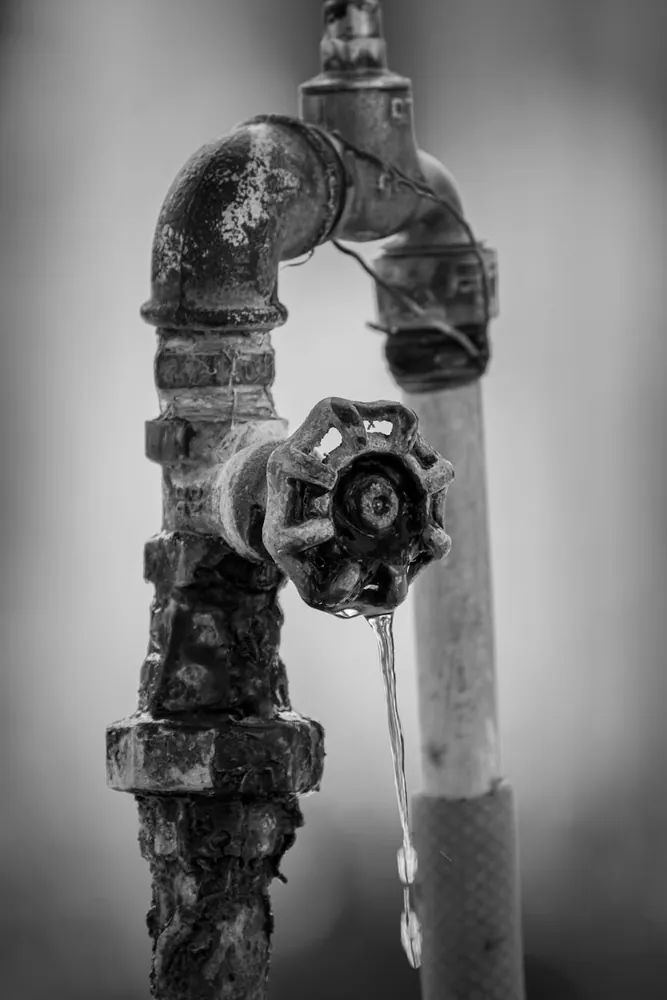
A leaking faucet can be a source of constant annoyance and, if left unchecked, can lead to increased water bills and potential water damage. Most faucets start leaking due to worn-out washers, seals, or cartridges. Understanding the type of faucet you have—whether it's compression, ball, cartridge, or ceramic disk—will help you address the leak efficiently.
Types of Faucets
- Compression Faucets: These are the oldest type of faucet, identifiable by separate hot and cold handles. They work by compressing a washer onto a valve seat.
- Ball Faucets: Commonly found in kitchens, these faucets have a single handle that moves over a rounded cap right above the spout. They use a ball bearing for controlling water flow.
- Cartridge Faucets: These can have one or two handles, and the mechanism involves a movable stem cartridge to control flow.
- Ceramic Disk Faucets: Known for their durability, they use two ceramic disks that control water flow through a complex assembly inside the faucet.
Tools and Materials You'll Need
Before diving into the repair process, gather the necessary tools and materials. This preparation will make your task smoother and more efficient.
- Adjustable Wrench: Essential for loosening nuts and bolts.
- Screwdriver Set: A set with flat-head and Phillips-head screwdrivers is usually sufficient.
- Pliers: Useful for gripping and turning objects.
- Replacement Parts: Washers, O-rings, or cartridges specific to your faucet model.
- Plumber's Grease: Helps lubricate parts and prevent new leaks.
Step-by-Step Guide to Fixing a Leaking Faucet
Step 1: Turn Off the Water Supply
This is perhaps the most crucial step. Locate the shut-off valves beneath the sink and turn them clockwise to stop the water flow. If there are no dedicated valves, you may need to turn off the main water supply to your home.
Step 2: Plug the Drain
Prevent small parts from falling down the drain by plugging it with a stopper or a rag. This will save you from unnecessary frustration later on.
Step 3: Remove the Faucet Handle
This varies depending on your faucet type. Typically, you'll need to remove a screw hidden under the decorative cap of the handle. Use an appropriate screwdriver to carefully remove it.
Step 4: Dismantle the Faucet
Once the handle is off, you may see additional components like nuts or screws holding the faucet assembly together. Use your adjustable wrench or pliers to gently remove these parts until you access the source of the leak.
Step 5: Inspect and Replace Damaged Parts
Look for damaged washers, seals, or cartridges and replace them with new ones. For instance, if you have a compression faucet, replace the washer and check the valve seat for wear. If you're dealing with a cartridge faucet, ensure you have an exact replacement cartridge before proceeding.
Step 6: Reassemble the Faucet
Reversing your disassembly steps, carefully put all components back together. Ensure everything is tightly secured but avoid over-tightening as this could damage new parts or create further issues.
Step 7: Test Your Repair
Turn on the water supply slowly to check your work. Gradually open the faucet to observe any leaks. If no drips are evident, you've successfully completed your repair!
Troubleshooting Common Issues
If your faucet continues to leak after replacing what seemed to be worn parts, consider these tips:
- If replacing a washer didn't stop the leak in a compression faucet, examine the valve seat for damage. It might require resurfacing or replacement.
- For ball faucets still leaking after replacing seals or springs, consider replacing the entire valve ball if it's corroded or damaged.
Maintenance Tips to Prevent Future Leaks
Avoid future leaks by performing simple maintenance tasks regularly:
- Regular Cleaning: Clean aerators regularly to prevent mineral build-up.
- Avoid Excessive Force: Never overtighten faucet handles as this increases wear on internal components.
- Lubrication: Apply plumber's grease to O-rings and other moving parts during repairs or annually as part of maintenance.
With this guide in hand, you can confidently tackle leaking faucets with basic tools and a bit of patience. Not only will this save you money on plumber visits, but it will also extend the life of your fixtures.