Understanding the Basics of Caulking
Caulking is an essential part of home maintenance, serving as the first line of defense against water damage in bathrooms and kitchens. With various types of caulk available, choosing the right one is crucial for ensuring effective sealing. The main types you'll encounter include silicone, latex, and polyurethane. Each type has specific properties that make it more suitable for certain applications.
Silicone Caulk
Silicone caulk is renowned for its flexibility and durability, making it an excellent choice for areas exposed to significant moisture, such as bathroom tiles and kitchen sinks. It's resistant to mold and mildew, and because it's highly elastic, it can withstand a degree of movement without cracking.
- Ideal Applications: Shower surrounds, bathtubs, kitchen backsplashes.
- Preparation Tips: Ensure surfaces are completely dry before application; silicone won't adhere well to wet areas.
When working with silicone, remember that it requires special tools for cleanup, as it's not water-soluble. Mineral spirits or specific silicone removers will be necessary to tidy any excess.
Latex Caulk
Latex caulk, also known as acrylic caulk, is preferred for its ease of use and clean-up. It's paintable, making it ideal for sealing gaps where aesthetics are a priority. However, it doesn't offer the same level of moisture resistance as silicone.
- Ideal Applications: Baseboards, crown molding, around windows and doors.
- Preparation Tips: Apply on a clean surface; it can be smoothed with a wet finger or tool before curing.
The primary advantage of latex caulk is its versatility in home environments where moisture isn't a significant concern. It can be cleaned up with water before it cures, simplifying any adjustments needed during application.
Polyurethane Caulk
While less common for indoor use, polyurethane caulk is excellent for exterior applications due to its robustness and ability to bond to diverse materials, including wood and metal. It offers strong adhesion and flexibility, accommodating movement in areas subject to temperature fluctuations.
- Ideal Applications: Exterior joints, such as window frames and roofing elements.
- Preparation Tips: Make sure surfaces are clean and dry; this type of caulk can take longer to cure but offers exceptional durability once set.
The Application Process
A flawless caulking job doesn't just depend on choosing the right material; proper application is equally vital. Here's a step-by-step process to ensure a watertight seal:
Step 1: Prepare the Surface
Remove any old caulk and clean the surface thoroughly using a mild detergent solution. For tougher residue, you might need a specialized remover or a razor scraper. Rinse the area and allow it to dry completely.
Step 2: Select the Right Caulk Gun
A high-quality caulk gun provides better control over the flow of caulk. Consider one with a thumb-release for easy stopping, which prevents excess from oozing out when not needed.
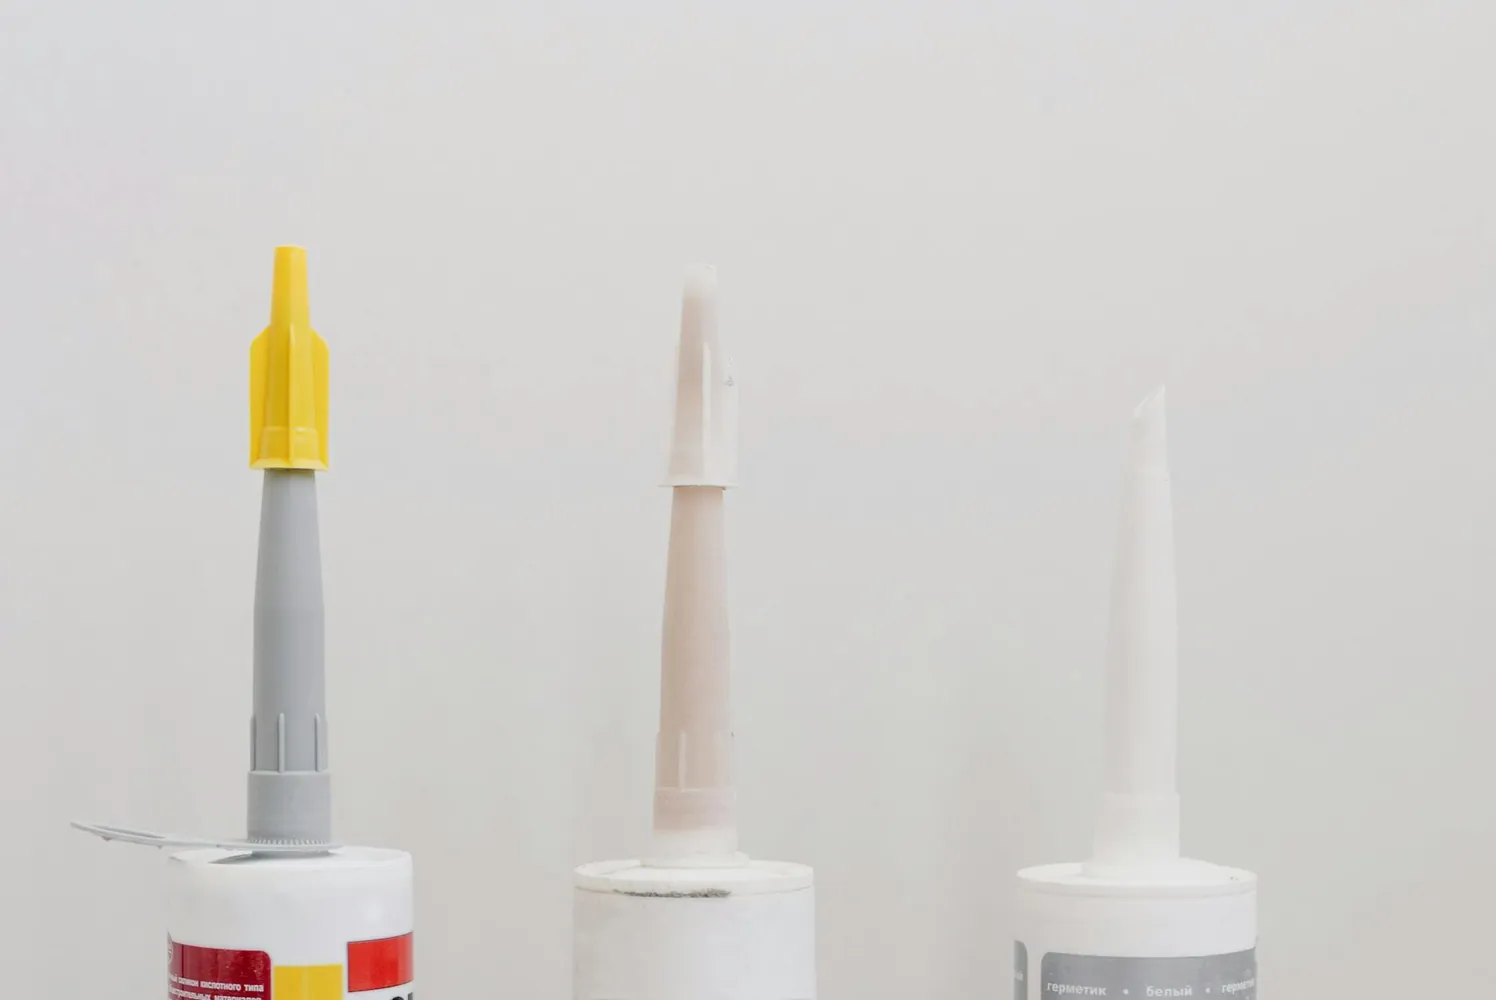
Step 3: Cut the Nozzle at an Angle
Cut the nozzle of your caulk tube at a 45-degree angle. The size of the opening should match the gap you intend to fill—smaller openings for fine cracks, larger ones for wider joints.
Step 4: Apply Even Pressure
Squeeze the trigger steadily as you move the nozzle along the seam. It's crucial to maintain consistent pressure to ensure an even bead of caulk without breaks or air bubbles.
Step 5: Smooth the Bead
Smooth the bead using your finger or a smoothing tool while it's still wet. This helps push the caulk into the joint and improves adherence to the surfaces. Wetting your finger or tool slightly can prevent sticking.
Troubleshooting Common Issues
Certain problems can arise during caulking that compromise the seal's effectiveness. Here are common issues and their solutions:
- Problem: Caulk pulling away after drying.
Solution: Ensure surfaces are clean and dry before application; consider using a primer if necessary. - Problem: Mildew growth on caulk.
Solution: Choose a silicone caulk with built-in mildew resistance, especially in damp areas like showers.
Maintaining Your Caulk
The longevity of your caulking depends on regular maintenance. Inspect your seals annually and address any signs of wear promptly. For indoor applications, simply wipe down with a mild cleaning solution regularly to prevent buildup that might compromise the seal.
The Caulking Mini-Framework
This simple framework will guide you through selecting and applying the correct caulk for your projects:
- Identify the Location: Determine whether the area is indoors or outdoors and its exposure to moisture.
- Select the Material: Choose silicone for high-moisture areas, latex for interior trims, or polyurethane for exterior projects.
- Prepare Properly: Always clean and dry surfaces thoroughly before applying any caulk.
- Apply Methodically: Use a steady hand and consistent pressure when applying caulk to ensure even distribution.
- Smooth Immediately: Don’t delay in smoothing out your bead for the best finish.
This checklist will not only help in achieving professional-looking results but will also extend the life of your seals, preventing costly water damage repairs in your home.